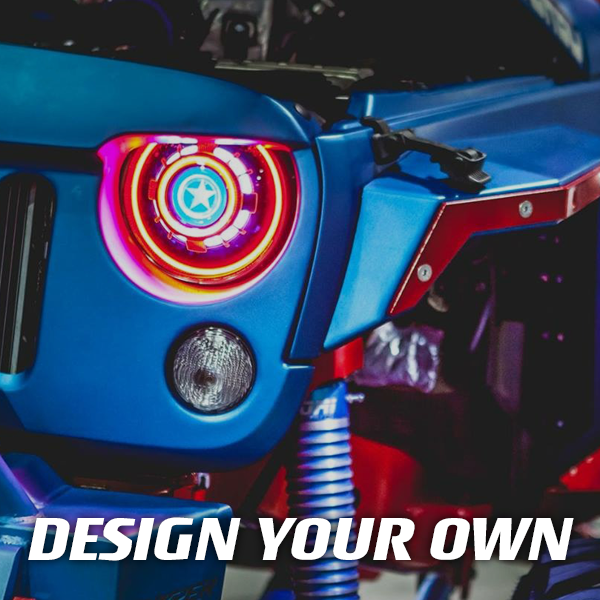
Headlight modification has become a popular trend among automotive enthusiasts, offering both aesthetic appeal and functional upgrades. Opening and sealing headlights is a key aspect of this process, allowing for customization, installation of aftermarket components, and even enhancing lighting performance.
In this blog, we'll delve into the techniques, tools, and considerations involved in safely opening and sealing headlights.
Why Modify Headlights?
Before diving into the specifics of opening and sealing headlights, let's briefly explore why enthusiasts opt for this modification.
- Aesthetic Customization: Many car owners seek to personalize their vehicles, and modified headlights offer a unique way to achieve this. Customization options range from simple color changes to intricate designs.
- Improved Lighting Performance: Upgrading to aftermarket projectors, lenses, or LED bulbs can enhance visibility and overall lighting performance, especially at night or in adverse weather conditions.
- Functional Upgrades: Headlight modifications can also include adding features like LED daytime running lights (DRLs), halo rings, or sequential turn signals, which can improve safety and visibility on the road.
Types of Headlights Sealant
There are several types of sealants used for sealing headlights, each with its own characteristics and suitability for different applications. Here are some common types:
- Butyl Rubber Sealant: Butyl rubber sealant is one of the most popular choices for sealing headlights. It is a flexible and durable material that remains pliable even after application, allowing it to accommodate vibrations and thermal expansion without losing its sealing properties. Butyl rubber sealant is typically applied in the form of pre-formed strips or rolls and is melted or warmed before application to improve its adhesive properties.
- Silicone Sealant: Silicone sealant is known for its versatility and resistance to high temperatures and UV exposure. It forms a strong and durable seal, making it suitable for sealing headlights against moisture and environmental elements. Silicone sealant is available in various formulations, including high-temperature and waterproof versions, providing flexibility in choosing the most suitable option for specific applications.
- Epoxy Sealant: Epoxy sealant is a two-part adhesive that consists of a resin and a hardener. Once mixed, epoxy cures to form a rigid and durable bond. While epoxy sealant provides excellent adhesion and sealing properties, it may not be as flexible as other types of sealants, making it more suitable for applications where structural integrity is a priority.
- Polyurethane Sealant: Polyurethane sealant offers a combination of flexibility and strength, making it suitable for sealing headlights and other automotive components. It forms a durable and weather-resistant seal, capable of withstanding harsh environmental conditions. Polyurethane sealant is available in various formulations, including fast-curing and paintable versions, offering versatility in different applications.
- Acrylic Sealant: Acrylic sealant is a versatile sealant commonly used in automotive applications. It provides good adhesion to a wide range of surfaces and offers weather resistance, making it suitable for sealing headlights against moisture and debris. Acrylic sealant is available in different formulations, including clear and colored versions, allowing for aesthetic customization.
- Perma Seal:Perma seal is a two-part epoxy adhesive used in automotive applications, particularly for sealing headlights and other vehicle components. It consists of a resin and a hardener that are mixed together before application, forming a strong and rigid bond once cured. Perma seal provides excellent adhesion and creates a permanent, watertight seal, making it ideal for sealing headlights against moisture and environmental elements. While perma seal offers durability and structural integrity, it may lack the flexibility of other sealants, which should be considered in applications requiring movement accommodation.
Now, let's move on to the main focus of this guide: opening and sealing headlights.
Prepare the Necessary Tools:
- Heat gun or oven
- Flathead screwdriver or plastic prying tools
- Gloves for safety
- Clean cloth
- Choice of Sealant
Step-by-step Guide in Opening Headlights:
Opening headlights requires precision and patience to avoid damaging the housing or components inside.
- Gather Necessary Tools: You'll need a heat gun or oven, plastic pry tools, screwdrivers, and gloves to protect your hands from heat.
- Remove Headlights: Depending on your vehicle, this may involve unbolting them from the car or accessing them from the engine bay.
- Heat Housing: Use the heat gun or oven to heat the perimeter of the headlight housing. This softens the adhesive sealant, making it easier to pry open.
- Pry Open: Carefully insert plastic pry tools between the lens and housing, gradually working your way around the perimeter. Apply gentle pressure to separate the two without cracking the lens.
- Remove Lens: Once the housing is open, carefully lift off the lens. Be mindful of any attached wiring or components.
Check out our video and remember the tips on opening the headlights.
Step-by-step Guide in Removing Headlights:
Ready your vehicle:
- Park your vehicle on a level surface and turn off the engine.
- Open the hood of your car and locate the screws or bolts holding the headlights in place.
- Carefully remove these screws or bolts using the appropriate tool.
- Gently pull the headlight assembly away from the vehicle.
- Heat the Headlight Housing: Preheat your oven to a temperature between 200-250°F (95-120°C). Place the headlight assembly in the oven on a baking sheet for about 10-15 minutes. Alternatively, you can use a heat gun to heat the sealant around the edges of the headlight.
- Separate the Lens and Housing: Once the sealant has softened, carefully remove the headlight assembly from the oven or stop applying heat with the heat gun. Use a flathead screwdriver or plastic prying tool to gently pry apart the lens from the housing. Be cautious not to damage the housing or lens.
- Clean the Inside: With the lens removed, clean the inside of the housing using a clean cloth and a mild detergent solution. Remove any dirt, debris, or condensation that may have accumulated.
Step-by-step Guide in Sealing Headlights:
Prepare the Sealant:
- Choose a high-quality butyl rubber sealant specifically designed for sealing headlights.
- Soften the sealant by placing it in hot water or using a heat gun on low heat until it becomes pliable.
Apply the Sealant:
- Carefully apply the softened sealant around the perimeter of the headlight housing where the lens will make contact.
- Ensure that the sealant is evenly distributed and covers the entire edge of the housing.
Reassemble the Headlight:
- Place the lens back onto the housing, making sure it aligns properly.
- Press the lens firmly onto the housing to secure it in place.
Reinstall the Headlights:
- Once the sealant has cooled and set, reinstall the headlight assembly back into the vehicle.
- Tighten the screws or bolts to secure the headlights in place.
Test the Headlights:
- Turn on the headlights to ensure they are functioning properly and that there are no leaks or condensation inside the housing.
- Adjust the headlights if necessary to ensure proper alignment and visibility.
By following these steps, you should be able to successfully open and seal your headlights, improving their appearance and preventing moisture or debris from entering the housing. Remember to take your time and exercise caution to avoid damaging any components of your vehicle.
Conclusion:
Opening and sealing headlights is a technical process that requires attention to detail and careful execution. Whether you're upgrading lighting performance, adding custom features, or performing maintenance, following the proper steps ensures a professional result.
Remember to prioritize safety and take your time to avoid any damage to your vehicle's headlights. With the right tools and techniques, you can achieve the desired modifications and enjoy a personalized and functional lighting setup for your vehicle.


